Showing posts with label baking. Show all posts

Sunday, September 10, 2017

Kitchen adventure: Waffles


I enjoy having breakfast for dinner when the weather gets cooler as it is now where I live. Sometimes, when I've had a really healthy substantial lunch, all I'll want in the evening is something to satisfy my sweet tooth, and waffles are just the thing.  These waffles are light, but substantial because of the oats and bananas; and using bananas also eliminates the need for oil in the batter.  Whether you eat them for breakfast or dinner, I think this recipe will become a favorite.

WAFFLES

Ingredients

  • 1 1/4 cup non-dairy milk + 1 tsp white or apple cider vinegar
  • 1 very ripe banana mashed
  • 2 Tbsp maple syrup 
  • 1/2 cup rolled oats pulsed in a food processor until fine or oat flour
  • 1 3/4 cups white whole wheat (or all purpose) flour
  • 1 Tbsp flaxseed meal
  • 2 tsp baking powder
  • 1 tsp vanilla extract
  • ice water as needed 
  • Toppings - vegan butter or yogurt, maple syrup, fruit (fresh or thawed berries, diced apples or peaches), nuts, cacao nibs.  

Instructions

  1. Combine non-dairy milk and vinegar in a small mixing bowl and let set for a few minutes to curdle. Then add mashed banana, maple syrup, vanilla extract. Whisk until combined and set aside.
  2. Add dry ingredients (flour, oats, flax meal, and baking powder) into a large mixing bowl and whisk until well combined.
  3. Add wet ingredients to the dry and mix until well incorporated. If the batter is too thick, add a teaspoon of ice water at a time until the desired consistency is reached.
  4. Let the batter set for 5-10 minutes while your waffle iron preheats, and add more ice water if the batter gets too thick. 
  5. When the waffle iron is ready, generously coat with non-stick spray and pour in batter until nearly to the edges. Cook according to your preferred doneness.  I like mine to be well done with crispy edges, so I cook until there isn't any steam coming from the iron.  This takes about 1.5 times through on the highest setting on my waffle iron.  Remove and place on a baking rack in a 200 degree oven to keep warm. Do not stack, but keep them in a single layer to keep crisp.
  6. Serve with desired toppings (I had blueberries and pecans), vegan butter and maple syrup.  Leftovers can be stored in the refrigerator and reheated in the toaster for crisp waffles or in the microwave for softer ones.  I double the recipe and put the extras in the in the freezer in a freezer storage bag.  They will keep for a few months.  


Monday, October 5, 2015

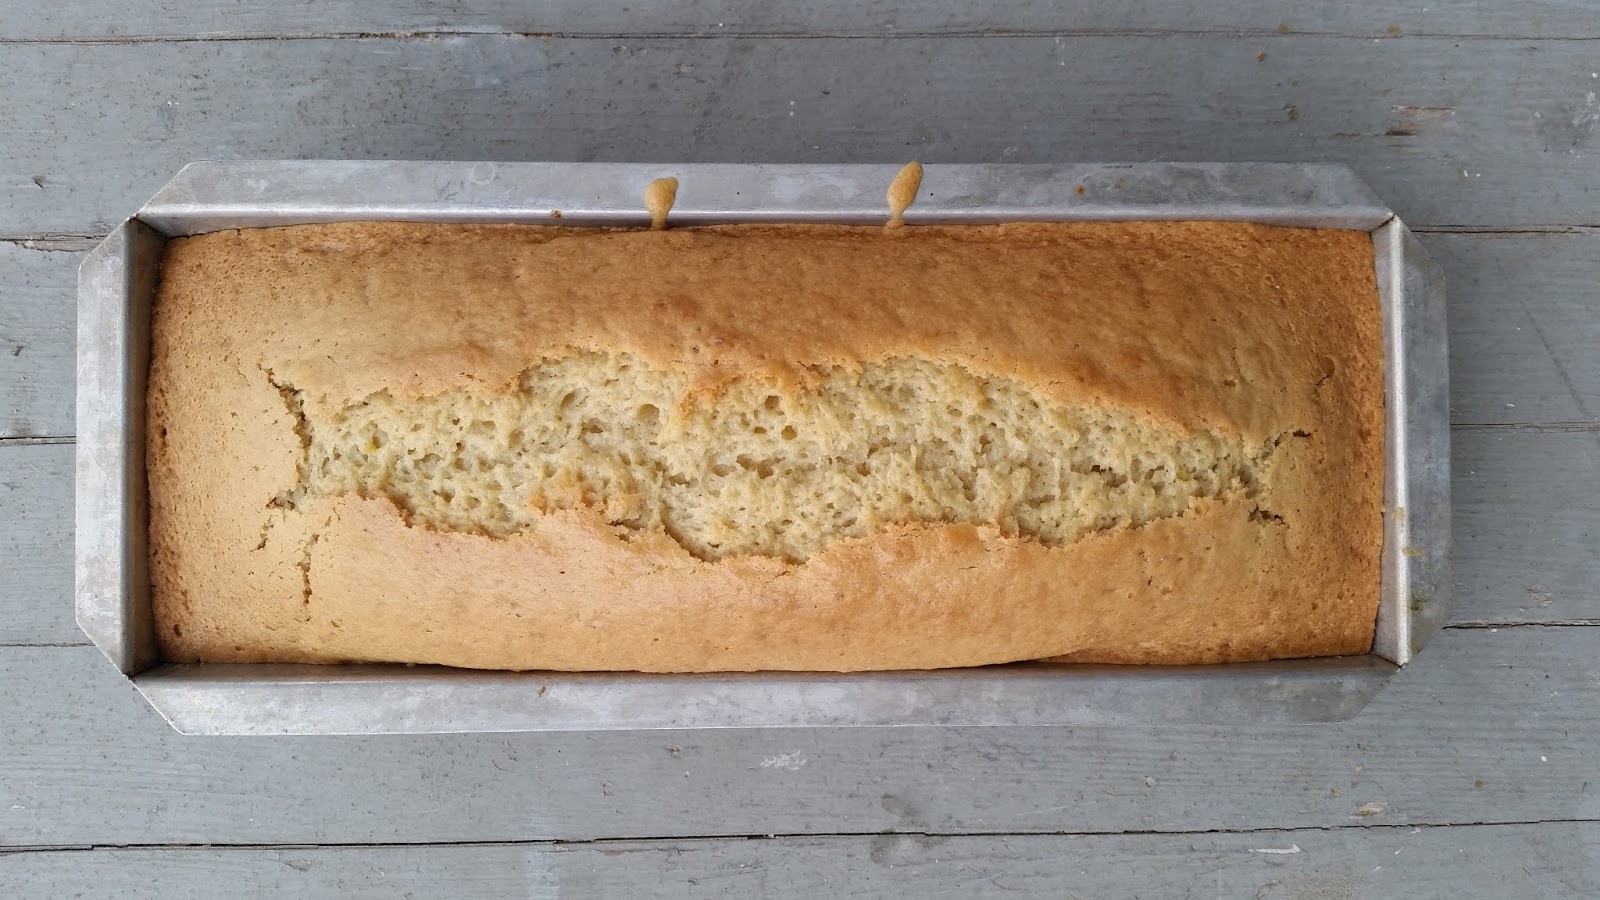
Discovering aquafaba - Vegan Lemon Pound Cake


Pound cake is a favorite dessert from my childhood, and every family seems to have a prized recipe.  My Aunt Carolyn makes one of the best as does my friend Lisa.  Now, how to make this delicious treat vegan friendly...

I was inspired by Popsugar's recipe for a vegan version of Starbuck's lemon pound cake and research into aquafaba (canned chickpea water) as an egg substitute.  Vegan baking can have mixed results as the chemistry isn't always quite right when you substitute for an ingredient like eggs, let alone all the dairy products in a recipe.  The finished recipe can sometimes be quite dense and sometimes more soggy than the original version; usually still edible, but not always as satisfying as imagined. That being said, I've had mostly good success with my vegan baking adventures because I do so much research to learn from others' mistakes beforehand.  I am happy that the aquafaba worked well and that I again have a great pound cake recipe for special occasions.

Vegan Lemon Pound Cake

makes 12 slices


Lemon cake:
1 1/2 cups unsweetened non-dairy milk
2 teaspoon apple cider vinegar
1 1/2 cups white whole wheat flour
2/3 cup almond meal (ground raw almonds)
1 tablespoon baking powder
1 teaspoon baking soda
1/2 teaspoon salt (optional)
1 1/2 cup sugar
2/3 cup oil (coconut, olive, canola)
2/3 cup aquafaba (water drained from canned chickpeas)
Juice from half a small lemon (about 1 tablespoon)
grated lemon rind from half a small lemon
2 teaspoons almond extract

Lemon Icing:
1 cup powdered sugar
Juice from half a small lemon (about 1 tablespoon)
grated lemon rind from half a small lemon
1 -3 teaspoons non-dairy milk

  1. Preheat oven to 350ºF. 
  2. Lightly oil or spray a large loaf pan.
  3. In the medium bowl add the milk, aquafaba, vinegar, oil, lemon juice, and vanilla extract, grated lemon rind and mix well.
  4. Make a well in your dry ingredients, pour in the wet and stir until just combined and fairly smooth. 
  5. Pour batter into the prepared loaf pan, and bake for 45-60 minutes or until a toothpick inserted comes out clean.
  6. Let sit for about 10 minutes before removing from the pan to cool thoroughly on a wire rack.
  7. Whisk together the powdered sugar, lemon juice and rinding for the icing and drizzle in just enough milk until you have a smooth icing that is not too thin.  
  8. Drizzle icing on top of the completely cool cake.

I'll definitely be ready with this cake next spring when the strawberries are ripe in the garden to make a strawberry shortcake.

Thanks for reading!


Sunday, February 8, 2015

Kitchen adventure: sweet potato cake


This month has been cold and dreary so baking is one of those comforting activities that I enjoy to keep warm inside.  I've been experimenting with more vegan baking, and have had some good successes along with a few less than stellar results.  My husband's birthday is in February and he likes carrot cake.   I decided to bake a sweet potato cake to honor the day.  It's a similar twist to his favorite with lots of fragrant, warm spices and a soft, but dense texture.  There's plenty of nutrition packed in this sweet treat with lots whole grains (wheat and flax), nuts and apples as well as the sweet potatoes.

I was inspired by this recipe from Sweet Potato Soul.  I met Jenné in NYC when she taught a segment at the Main Street Vegan Academy which included her teaching us and making tacos for lunch - amazing!  Check out her many recipes and videos for more inspiration in vegan cooking.


Sweet potato cake with coconut cashew cream icing

INGREDIENTS:
CAKE
2 1/4 cup white whole wheat flour
1 tsp baking powder
1 1/2 tsp baking soda
2 tsp cinnamon
1 tsp nutmeg
1 tsp ground ginger
1/2 tsp cardamom
1/2 tsp salt
6 tbsp flax seed meal
3/4 cup warm water
1 1/4 cup sugar 
1 apple, grated (or used 1/2 cup crushed pineapple)
1 cup canola oil
2 tablespoons apple cider vinegar
2 tsp vanilla
2 cup shredded sweet potato
1 cup nuts, chopped
1/2 cup shredded, unsweetened coconut

ICING
14-oz can of full fat coconut milk - put in refrigerator upside down
1 cup raw cashews, soaked in water and drained
2 tsp vanilla extract or 2 in piece of vanilla bean
1/4 cup maple syrup
1 tbsp lemon or orange juice (juice of 1/2 of lemon)

INSTRUCTIONS:
ICING

  • Open the can of coconut milk right side up and scoop out the thick cream layer, leaving the liquid in the can. Place the coconut cream into a high speed blender.
  • Add in the soaked cashews, vanilla, lemon juice and 2 tablespoons of maple syrup.
  • Blend until smooth using some of the coconut milk to thin as necessary
  • Put the icing in the refrigerator to firm up until the cake is ready. 


CAKE

  • Preheat oven to 350º.
  • Oil a tube pan 
  • In a small bowl, sift together dry ingredients (flour through salt) and set aside.
  • In a large bowl, whisk together flax seed meal and water and let sit a few minutes until thick. 
  • Add the sugar, oil, vinegar and vanilla and beat well.
  • Add the grated sweet potato and apple and  and mix until combined.
  • Add dry mix and stir until moistened, but do not over mix.  This is a very thick batter, but if the mixture is too dry, add a few spoonfuls of almond milk or orange juice.
  • Fold in nuts and coconut.
  • Pour into prepared pan.
  • Bake for 45-60 minutes or until a toothpick comes out clean.
  • Let cool in pan 10 minutes.
  • Use a knife to loosen edges of cake from pans.
  • Let cool fully on a wire rack.
  • Once the cake has cooled completely, frost and serve.
  • Store cake in the fridge to keep the icing nice and firm.

I hope you'll make this cake for a special occasion.  It's worth the effort.


Thanks for reading!

Cooling racks on baking day

Sunday, June 15, 2014

Homemade bread - an easy basic recipe

Pizza makings:  dough, the last jar of homemade tomato sauce from last summer's harvest, pesto frozen from last year's basil harvest, freshly picked spinach, spring onions and oregano 

There's nothing like the smell of fresh bread baking.  With commercial breads containing a list of ingredients that stretch across half of the package, I'm even more inclined to try to make more of ours at home as often as I can.  It's pretty easy to make at home with much of the prep being hands off rising and baking times.  There aren't many ingredients so I can turn out a loaf of bread or a pizza crust at well under a dollar each.

Onion sandwich rolls made by adding chopped spring onions to the dough

I have a new favorite basic dough recipe that I adapted from one for Sun-dried Tomato Bread in The Italian Cooking Encyclopedia that I picked up for free at The Book Thing.  The texture is soft because contains both milk and oil.  I eliminated the herbs and tomatoes from the original recipe to make it more versatile for everyday use.  I also added some whole grain flours to make it a healthier everyday staple.  I've turned this dough into pizzas, plain loaves and onion sandwich rolls with equal success.  It would also make great bread sticks or cinnamon buns too.

In the cooler weather, I bake inside in my oven.  In the steamy summer months, I bake on my gas grill on my pizza stone as our steamy weather makes it a challenge to keep the house cool as it is.  On my wish list is a brick oven for our back yard (so many home projects, so little time!). 


Thick crust pizza with spinach, mushrooms, garlic and sweet peppers on the left and a thinner crust sun-dried tomatoes, onions and peppers on the right - both of these pictured are vegan

Basic rich bread dough

Makes 2 large loaves, 3 thin crust 14-inch pizzas or 2 thick crust 16-inch pizzas or 12 sandwich rolls

3 cups bread flour
3 cups whole wheat flour plus extra as needed and for kneading
1 teaspoon sea salt
2 tablespoons raw sugar
1 tablespoon yeast (or 2 packets)
1 cup of warm milk (I used almond)
1 cup of warm water 
1/4 cup extra virgin olive oil + extra for the bowl

In a mixing bowl stir together the flours, salt and sugar.  Make a well in the middle and pour in the warm milk, water and olive oil.  Either by hand or with a mixer fitted with a bread hook, mix the ingredients until you have a fairly smooth dough.  On a floured surface, turn out the dough and hand knead the dough until it is smooth and elastic.  Pour a about a tablespoon of olive oil in the mixing bowl and swirl to coat the sides.  Return the dough to the bowl and flip it over to coat all over with olive oil. Cover with a damp towel and let the dough rise in a warm place for about 2 hours or until doubled.

Punch down the dough, and shape it as desired into loaves or rolls and let rise for about 45 more minutes before baking.  Pizza crusts do not need to  rise again and can be topped immediately after shaping.  

Preheat the oven to 400 degrees F (450 degrees F for pizza).  (If you have a pizza stone, preheat it in the oven, too).  Bake for about 30-40  minutes for loaves or about 20 minutes for rolls or pizzas.

I have also frozen the dough after the first rise by putting it in an olive oil coated freezer bag.  To sue, thaw at room temperature and proceed with shaping as desired and baking.

I hope you give baking a fresh loaf of bread a try soon. 


For more creative ideas follow me on:
Facebook
Pinterest
Website
Instagram


Sign up for the newsletter here.

If you enjoyed this post, you might also enjoy:


Wednesday, May 21, 2014

Vegan baking: Banana Walnut Muffins


Banana walnut muffin in an antique muffin top pan


This is the final day of me participating in the 10-day Fed Up Challenge (eliminating all processed sugars, sweeteners and substitutes - goodbye agave nectar, maple syrup and stevia).  Even though I eat a fairly healthy mostly whole food diet, it took a little getting used to.  My inherited from my dad sweet tooth adjusted in a few days after the initial shock.  While I was making a pot of vegetable soup one day, I thought that a nice muffin would be just the thing to serve with a steaming bowl...until I remembered the challenge.  I began to think, would it be possible to make a healthy, vegan, sugar free muffin that didn't taste like a rock?  Would it even be a muffin if it met all those criteria?  I figured, what have I got to lose...the worst thing that would happen is my compost pile would have a few muffin rocks in it if all went wrong.

My starting inspiration was a recipe for Vegan Banana Walnut muffins for Two on the Chocolate and Carrots website.  I doubled the recipe because I needed to feed three.  I made a few changes to make it whole grain, added an extra super-ripe banana and softened dates to replace the processed sugar in the recipe and added cinnamon for more natural sweetness.  After a suspenseful 20 minutes in the oven, they came out looking like chocolate chip cookies (a good start) and smelling wonderful - but how did they taste?  They turned out to be tender and delicious.  They were sweet enough for my newly adjusted palate and I'll certainly be making these again even long after I'm done with the challenge.

Vegan banana walnut muffins

makes 4 large or 6-8 regular size muffins

2 cups whole wheat flour
1 teaspoon baking soda1 teaspoon baking powder
3 medium bananas, smashed (about 1/3 cup smashed banana)
2 tablespoons olive oil (you can use dairy or non-dairy butter or other oil)
2/3 cup unsweetened almond milk
1 teaspoon vanilla extract
1/2 teaspoon cinnamon
1/3 cup chopped walnuts
1/3 cup golden raisins
1/2 cup pitted chopped medjool dates

  • Preheat the oven to 375°F.Warm the milk and stir in the chopped dates, let them soften while you prep everything.
  • In a large bowl, whisk the flour, baking soda and baking powder together and set aside.  
  • In a smaller bowl, stir the banana,oil, milk and date mixture and vanilla together.
  • Stir the wet ingredients into the dry ingredients.Stir in the walnuts and raisins.
  • Evenly distribute the batter into 4-6 sections of a muffin pan that has been sprayed with a baking spray. 
  • Bake for 15-20 minutes or until a cake tester comes out clean.  
  • Allow to cool for a few minutes before removing from the pan and cooling on a rack.

Thanks for reading!


For more creative ideas follow me on:
Facebook
Pinterest
Website
Instagram


Sign up for the newsletter here.